http://www.abrief.info/?p=30130
SketchUp 활용능력 향상 팁 10가지

SketchUp은 모델링 소프트웨어로써 문으로부터 도시에 이르기까지 다양한 활용도를 가지고 있다. 이들 팁을 활용할 경우 거의 불가능한 작업도 수행할 수 있다. 이들 10가지 팁의 참고는 SketchUp 활용을 충실히 할 수 있도록 하는 방안이다.
1. 모델을 그룹과 컴퍼넌트의 사용 방식을 숙지하여라. 가이드
2. SketchUp Warehouse를 잘 활용하여라. 라이브러리
3. 위성 이미지나 지형을 추가하여라. 가이드
4. 구형이나 다양한 모양을 Follow-Me 도구를 활용하여 만들어라. 가이드
5. Soap Skin and Bubble 플러그인을 사용하여 인장 구조를 만들어라.
6. 재료 질감을 연구하라. Mayang 모로 텍스쳐 라이브러리 텍스쳐 에디팅 도구
7. 단면 애니메이션을 만들어라. 가이드
8. 무료 랜더링 소프트웨어로 빛과 그림자의 효과를 연출하라. Kerkythea Render Engine 혹은 Indigo Renderer가 있다.
9. 플러그인을 활용하여 툴바의 성능을 높여라. Smustard.com을 참조하여라.
10. SketchUcation forums에 참여하라. 이 곳은 초보자로부터 전문가들이 의견을 교환하는 곳이다.
http://architizer.com/blog/10-tips-and-tricks-for-success-in-sketchup/
10 Tips and Tricks for Success in SketchUp
SketchUp is a simple piece of modeling software with hidden complexities and holds a host of tricks up its sleeve that can help you create anything from a single door handle to an entire city in great detail. Compiling a list of tips for the program feels like an almost impossible task given the range of in-built tools and add-ons now available, but here are 10 to get you on your way to realizing SketchUp’s full potential.
We’ve tried to include a wide variety, from basic pointers on groups and components to more advanced modeling techniques — dive in, and if you have more tips that aren’t mentioned here, be sure to share them in the comments section below!
1. Get your model in order using groups and components
If you are just starting out, it is vital you get accustomed to using groups and components from the outset. These allow you to isolate and edit different parts of your model without interfering with surrounding objects. Components work as duplicable modules — if you modify one, all the other copies of this element will automatically change, too, saving you valuable time. Check out a quick guide here.
2. Utilize the SketchUp warehouse
Beyond the obvious fun to be had by importing all manner of iconic structures from the warehouse (from Utzon’s Sydney Opera House to the Death Star), SketchUp’s ever-growing warehouse includes a whole host of objects that help give your model a great sense of scale. People, furniture, plants, and trees are particularly useful — check out the library here.
3. Add context by importing satellite imagery and topography
Following Google’s purchase of SketchUp back in 2006, the integration between this program and the tech giant’s other resources has improved dramatically. one neat trick is the ability to create contextual site models by importing not only satellite imagery from Google Maps or Earth, but also existing buildings and topography — check out the in-depth tutorial over here.
4. Create spheres, spindles, and more with the follow-me tool
Trying to recreate the futuristic spheres of the Oriental Pearl Tower or perhaps the globular observation deck in Kenzo Tange’s Fuji TV Headquarters? Simply draw two intersecting circles, then spin one around its central axis using the follow-me tool to create a perfect sphere. The same technique can be used to create ornate spindles for balustrades; YouTuber Albert Lackovic shows you how.
5. Create tensile structures with the Soap Skin and Bubble plugin
My all-time favorite plugin is the Soap Skin and Bubble tool, which allows you to create a stretched membrane between lines of any form and orientation — and then allows you to “blow up” the surface like a balloon! It’s perfect for creating tensile structures like BIG and Heatherwick’s new Googleplex or ETFE pillows like those covering Grimshaw’s Eden Project bio-domes.
6. Explore material textures
Despite SketchUp’s basic, diagrammatic aesthetics, it handles photographic textures surprisingly well. Try importing a texture to the materials palette, then modify it with the editing tools to create precisely the finish you want. A great resource for surface textures is the Mayang Free Texture Library, where you can find everything from rusted metal cladding to dry stone walls.
7. Create section animations
The animation tool in SketchUp is remarkably straightforward to pick up; just add scenes and then tweak the transitions between them to create a simple fly-through. For even more explanative animations, though, try transitioning from one horizontal section to another so you can show clients each floor of the building in turn — check out a full tutorial here.
8. Add realistic light and shadow with free rendering software
There are a host of programs that allow you to transform your SketchUp model with photorealistic effects — 3DS Max, Maya, and V-Ray are prime examples — but most of them cost a pretty penny. To experiment for free, try Kerkythea Render Engine or Indigo Renderer, which afford decent ray-tracing results for no upfront cost.
9. Pimp your SketchUp toolbar with a plethora of plugins
The basic tools in SketchUp can take you a long way, but plugins are essential for two reasons: some help you build structures that would give you all manner of headaches otherwise (see article number five), and others help you speed up your workflow beyond belief — special ‘hide’ tools and ‘selection’ tools are great examples. Check out the brilliantly named Smustard.com for a full library of add-ons.
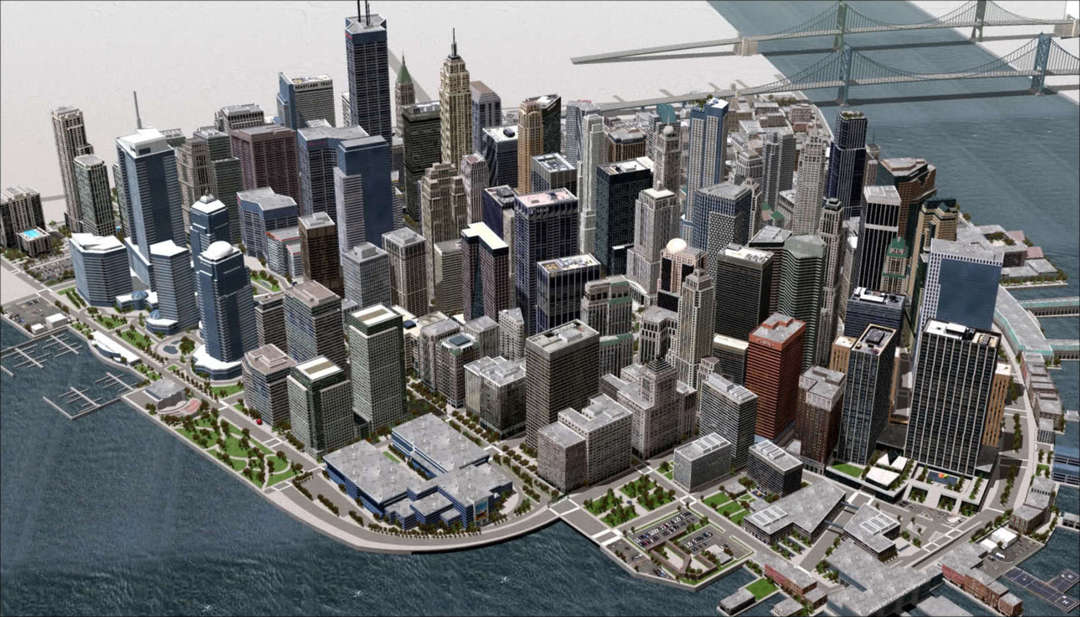
SketchUp City via the Skycraper Page
10. Learn more with SketchUcation
SketchUp is much like a classic 1980s computer game: easy to learn, difficult to master. These tips just scratch the surface of the program’s potential, but you can learn much more over on the SketchUcation forums where beginners and experts alike post questions and answers on all manner of SketchUp-related conundrums.
'건축과 BIM' 카테고리의 다른 글
| 국내 건축사사무소에 BIM을 도입할 수 있을까? 등 (0) | 2015.10.14 |
|---|---|
| AEC Visualization software Lumion 5.7 is OUT NOW! (0) | 2015.07.20 |
| 대한건축학회지 <건축> 2015년 07월 (0) | 2015.07.06 |
| BIM, 미래 건설산업 선도 혁신 키워드 (0) | 2015.07.01 |
| BIM의 확산과 건축계의 혼란 (0) | 2015.07.01 |